How to edit sketchup models in photoshop
In the realm of 3D design and architectural visualization, SketchUp is favored for its user-friendly interface and extensive plugins. Photoshop, on the other hand, is a powerful image editing software. Using both together can significantly enhance design outcomes and rendering quality. By editing models or rendered images exported from SketchUp in Photoshop, designers can add more details, adjust colors, and manipulate light and shadow, resulting in more realistic and polished visuals. This article will provide a comprehensive guide on how to edit SketchUp models in Photoshop, from export steps to practical editing techniques, helping you create visually striking designs.
Exporting SketchUp Models to an Editable Format

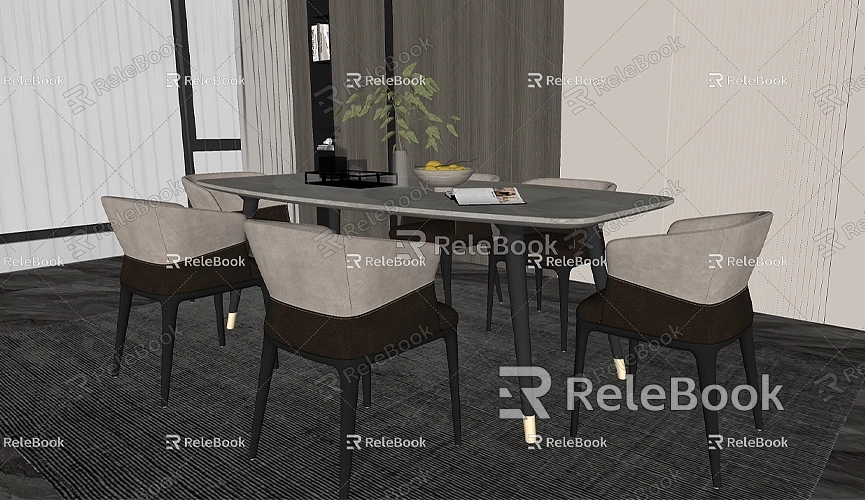
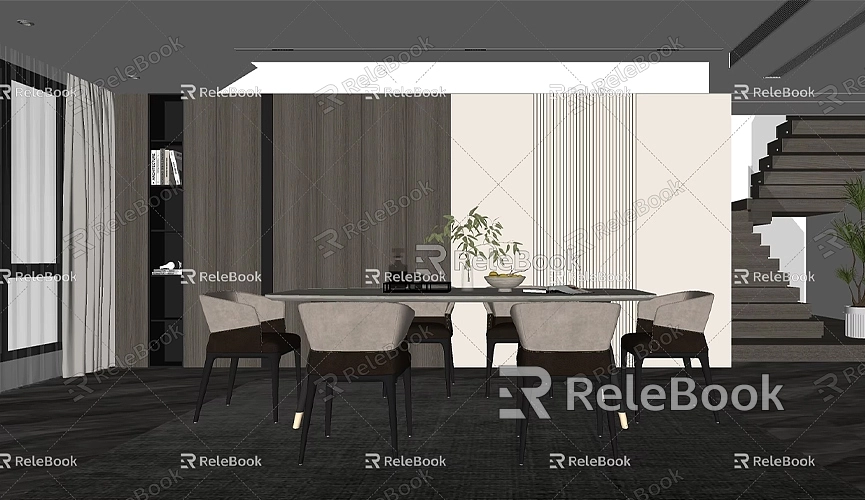
Directly editing 3D models in Photoshop is not common; instead, we typically render SketchUp models into 2D images for post-processing in Photoshop. Therefore, the first step is to render your model in SketchUp and save it in a suitable format, such as PNG or JPEG. This approach allows for more flexible image editing in Photoshop.
Here are the steps for exporting:
- Open your model in SketchUp, ensuring that the perspective, lighting, and other parameters are properly adjusted.
- Use SketchUp’s “Export” feature to render the model as a high-resolution 2D image. It’s recommended to choose the PNG format, as it supports transparent backgrounds, making it easier to overlay and edit in Photoshop.
- Save the rendered image to your computer, ready for further processing in Photoshop.
Opening and Preparing to Edit in Photoshop
Now, open Photoshop and import the image you just exported from SketchUp:
- Launch Photoshop, click “File” > “Open,” and select the previously saved PNG or JPEG file.
- After opening the image, you may want to adjust the layer size and resolution to ensure clarity in the final output.
- If the model image includes a background or unnecessary elements, use Photoshop’s selection tools or the “Magic Wand” tool to quickly cut out the main parts of the model.
Adjusting Colors and Light Effects
An important step in Photoshop is adjusting the colors and light effects, which can make your model appear more realistic and layered. Here are some common techniques:
- Color Adjustments: Use “Levels,” “Curves,” or “Hue/Saturation” to adjust the overall tone of the image. If you want the model to have a warmer or cooler appearance, you can increase the proportion of warm or cool colors as needed.
- Brightness and Contrast: Adjust the brightness and contrast to ensure that every detail of the model is visible. This is especially effective for showcasing details in architectural materials, such as wall textures or metallic surfaces.
- Adding Shadows and Highlights: Use the “Burn” and “Dodge” tools to manually adjust the shadows and highlights on the model’s surface, enhancing its three-dimensionality.
Adding Backgrounds and Details to the Model
In Photoshop, you can add more details to your SketchUp model, making the final image richer and more vibrant. For example, you can include backgrounds, environmental elements, and decorative items to better fit project needs.

- Adding Sky or Natural Backgrounds: If the model is a building, you can overlay a realistic sky image to enhance visual appeal. Choose “Layer” > “Place Embedded,” position the background image behind the model, and adjust the layer order.
- Introducing Details: Use Photoshop’s “Brush” tool to add details like reflections on windows, highlights on metal, or transparency on glass. Utilize layer masks for precise local adjustments.
Making the Most of Resource Materials
Having access to a rich library of materials can make the design process in Photoshop much easier. If you need high-quality 3D textures and HDRI while creating models and virtual scenes, you can download them for free from [Relebook](https://textures.relebook.com/). If you need exquisite 3D models, you can also download them from [Relebook](https://3dmodels.relebook.com/), which offers a wealth of quality 3D resources. These assets can help you complete post-processing more efficiently and give your final images a professional touch.
Using Layer Effects and Filters
Photoshop’s layer effects and filters can quickly enhance the visual quality of your model. For example, you can use “Gaussian Blur” to create depth of field in the background or apply “Gradient Map” to adjust the overall color style of the model.
- Layer Effects: Double-click the model layer to open the “Layer Style” panel. Here, you can add effects like “Drop Shadow,” “Inner Shadow,” and “Bevel and Emboss” to give the model a more three-dimensional appearance.
- Applying Filters: If you want to add special effects to your model, you can use various filters from “Filter” > “Filter Gallery.” For instance, “High Pass” can enhance edge details, while the “Oil Paint” filter can create an artistic effect.
Saving and Exporting the Final Output
After making all adjustments and effects in Photoshop, you can save and export the final image:
- Save as PSD: Select “File” > “Save As” to save your project as a PSD file. This will preserve all layers and effects for future editing.
- Export High-Quality Images: Use the “Export” function to choose an appropriate format and resolution. High-quality images can be used for project presentations or client reports.
By exporting SketchUp models as 2D images and performing post-processing in Photoshop, you gain better control over the visual effects of the final render. Whether it’s color adjustments, light manipulation, or adding details, Photoshop can help you achieve your desired results with ease. Mastering these editing techniques will make your design work more professional and eye-catching.
I hope this guide helps you navigate the process of working between SketchUp and Photoshop, making your design and rendering workflows smoother and more efficient.

